Step One
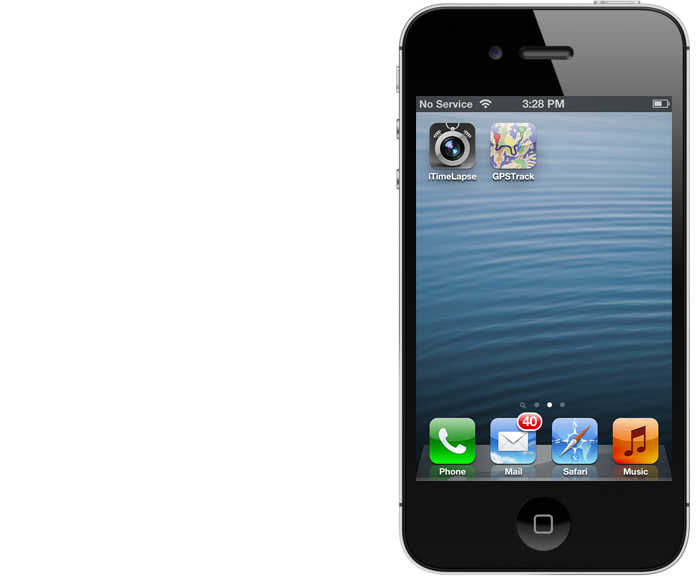
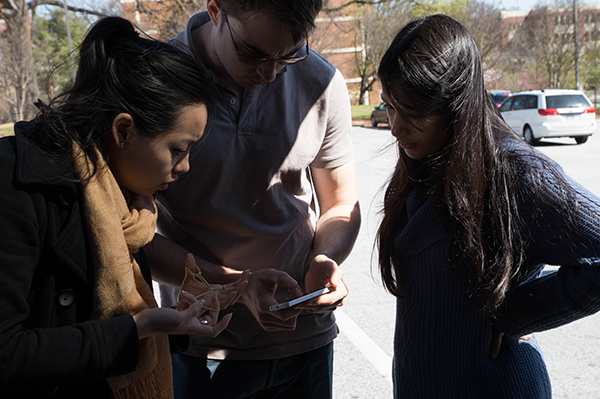
Download a timelapse application (iTimelapse works well) to your phone. Makes sure this application supports the export of frames, and not just movies. Download a GPS tracking application (GPSTrack is what we used). Be sure to lock the orientation of your phone (on the iPhone, double tap the home button then tap the rotation icon).
Tips:
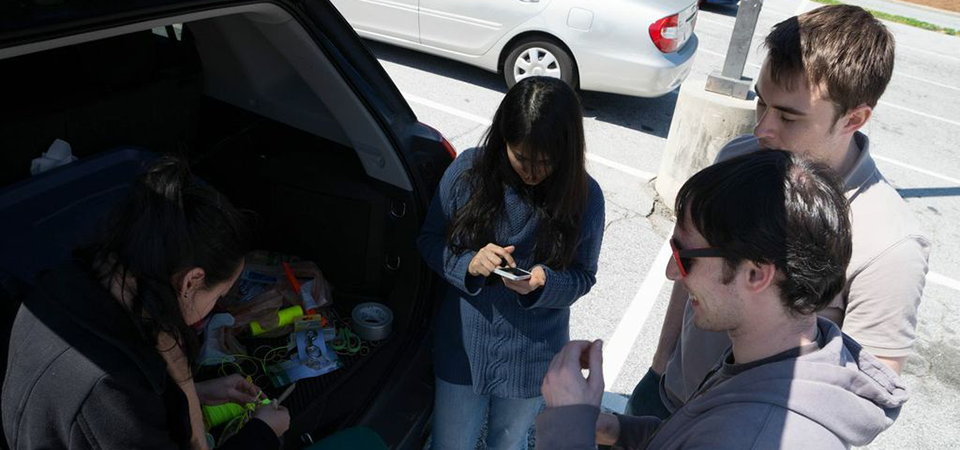
You may want to start the GPS track running, and set the timelapse program to begin taking photos timer before you construct the rig. It can be difficult to run these when the phone is on the rig. If your phone does not have a network connectivity, you can download the applications over wifi.
Go to the TopStep Two
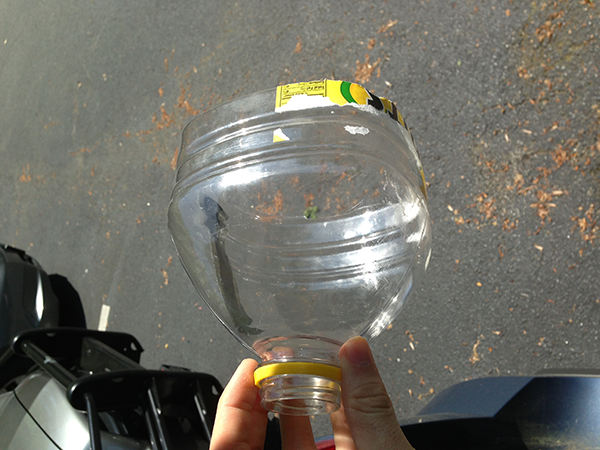
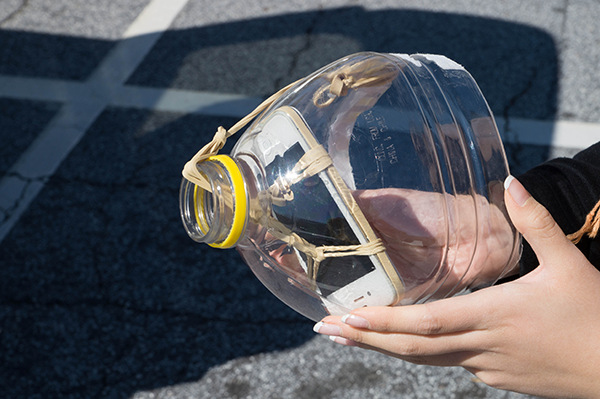
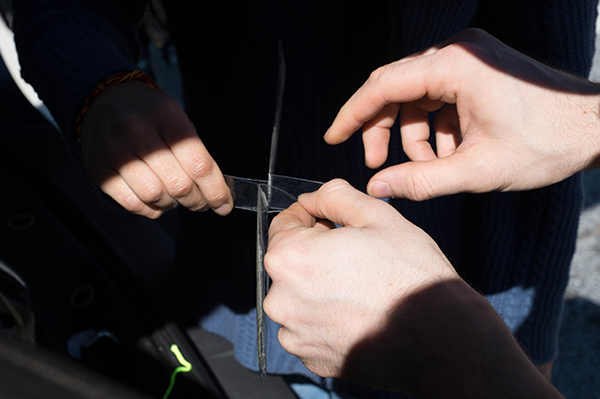
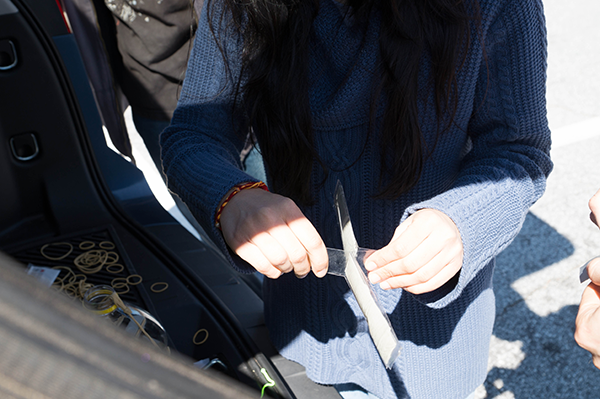
Cut across the juice bottle about 5 inches from the top. Make sure the juice container is empty first.
Go to the TopStep Three

Place the phone in the bottle, and tilt the edge with the camera toward the newly made opening in the bottle. Turn on the phone's camera mode, and look through the top of the bottle to see if the edge of the bottle is occluding the phone's field of vision- adjust the angle of the phone accordingly. Remember this angle for later.
Tips:
Use a sharpie to mark the location of the each end of the phone.
Go to the TopStep Four
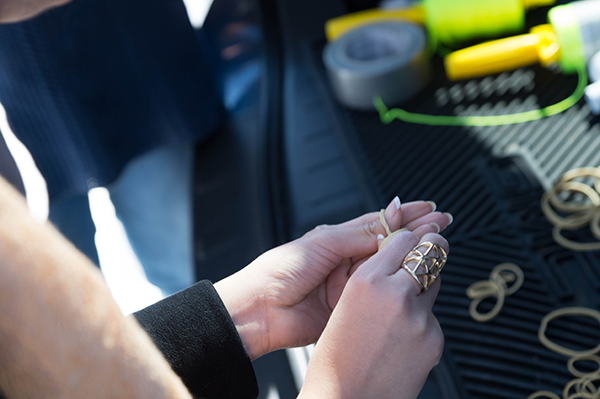
Double up a rubber band. Run a second rubber band through this, then pull it back through itself and pull it tight.
Go to the TopStep Five
Double up a third rubber band, and run this around the narrow end of your 'T' structure. Pull this back through itself, and pull tight.
Tips:
Fairly thick rubber bands are helpful to have here.
Go to the TopStep Six
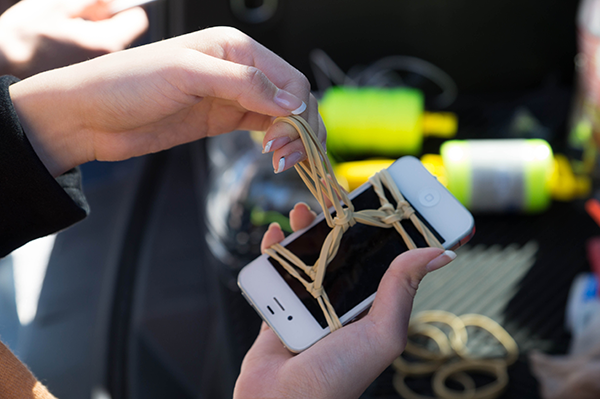
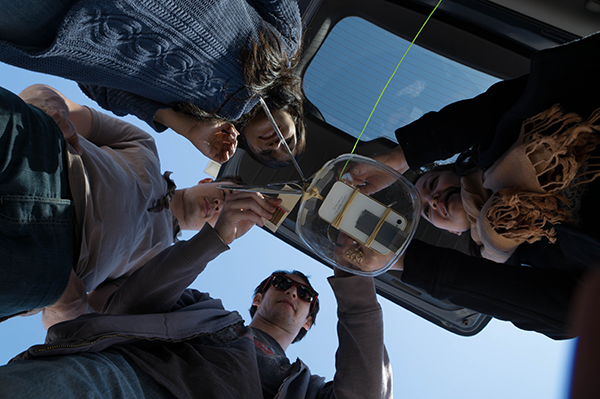
Place your phone through the two loops. Tip: build a second cradle for additional reliability
Go to the TopStep Seven
Stab a hole near the open end of the bottle, on the side away from the phone camera. Run the rubber bands out the top of the bottle, under its edge, then back through this hole, tying it off at the end. Tilt the phone at the angle you found earlier.
Go to the TopStep Eight
Add tape to the ends of the phone for additional stability, especially if the phone is not snug in the bottle
Go to the TopStep Nine
To make the stabilizers, cut four strips of the second soda bottle. These should each by about 3/4 inch across and as long as possible. Fold the ends of each of them back about 5/6 of the way down the strips, and tape the long parts together, making two 'T' shapes.
Go to the TopStep Ten
Tape together two of the short folded ends. Tip: try to use as little tape as possible, as this will add weight and make the stabilizer wing counterproductive.
Go to the TopStep Eleven

Fond out the remaining untaped ends, and tape these to the bottle.
Tips:
You can also cut notches into the bottle, run the edges of the stabilizer through, and tape these to the inside of the bottle for enhanced durability.
Go to the TopStep Twelve

Cut off a length of mason line around 2 feet from your auxilary line. Tie this around the rubber band knot, and around the 1 inch metal ring.
Tips:
Tie these knots very well- otherwise you risk losing the rig!
Go to the TopStep Thirteen
Use matches or a lighter to burn the rope knots slightly to add strength.
Go to the TopStep Fourteen
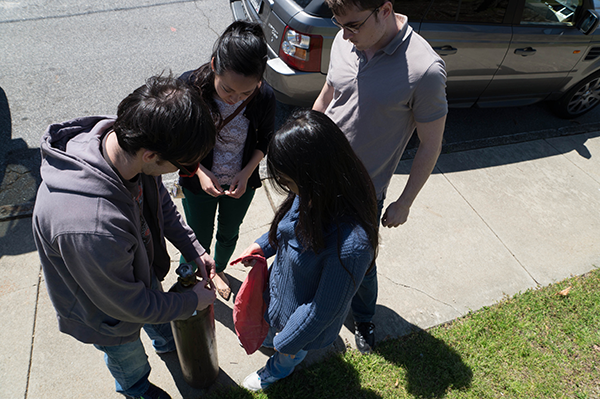
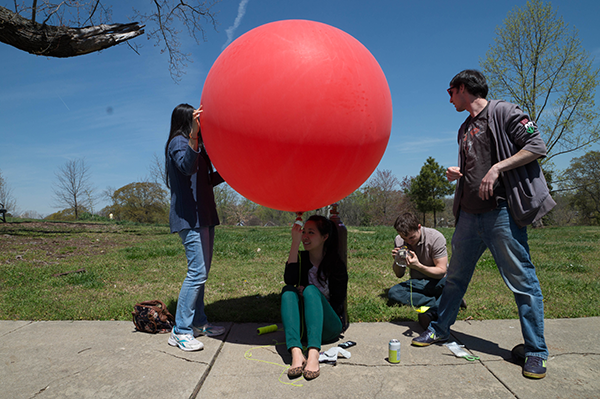
Carefully set helium tank down on a flat surface. Attach the balloon to the nozzle with rubber band.
Tips:
Try not to let the balloon touch the ground at any point- grass can pop the balloon.
Go to the TopStep Fifteen
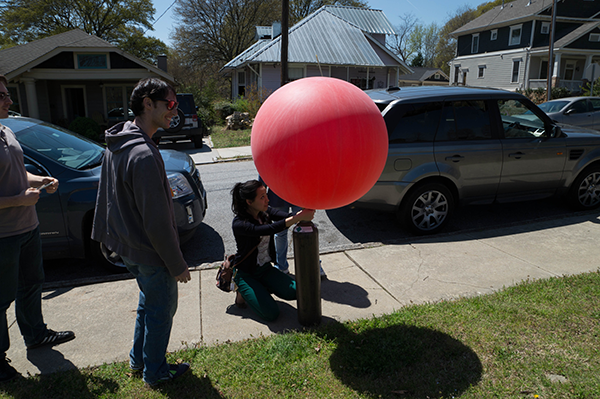
Gradually open valve to begin letting air into the balloon. Make sure to hold on the tip of balloon nozzle throughout this process.
Go to the TopStep Sixteen
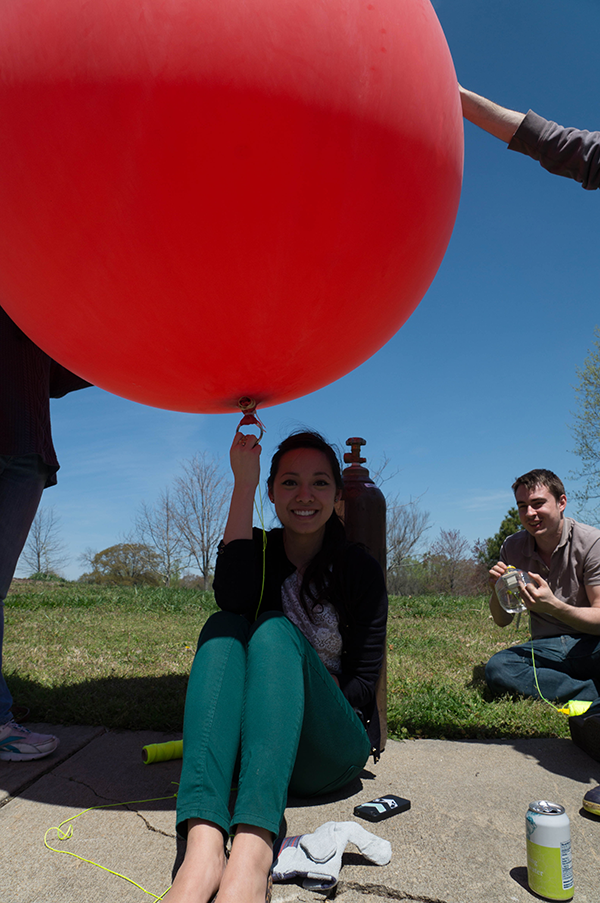
When the balloon is full (which you will know by checking its diameter), fold back the balloon nozzle around the second one inch metal ring. Place several zip-ties around the balloon nozzle to be sure it is tightly sealed, and cinch these tight. Tie the end of your 500 or 1000 foot line onto the bottom of the ring.
Go to the TopStep Seventeen
If you have not done so aready, set your phone timelapse program to begin capturing.
Tips:
A capture rate of once every 10s seconds work well- make sure you set a large upper limit on the capture time or number of photos.
Go to the TopStep Eighteen
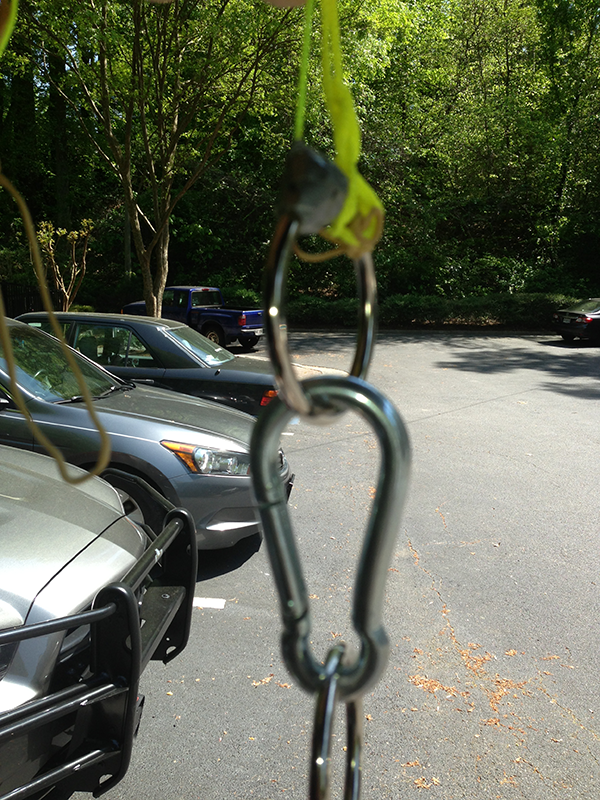
Use your carabiner to latch the one inch ring on the balloon to the one inch ring on the bottle rig.
Go to the TopStep Nineteen
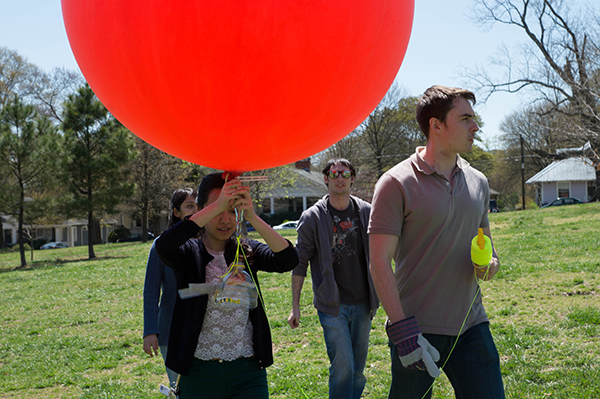
Walk the balloon to your desired launching spot. Tip: Avoid spiky trees.
Go to the Top